Tech Tip for Light Inspection and Bulb Replacement
Steve Knoble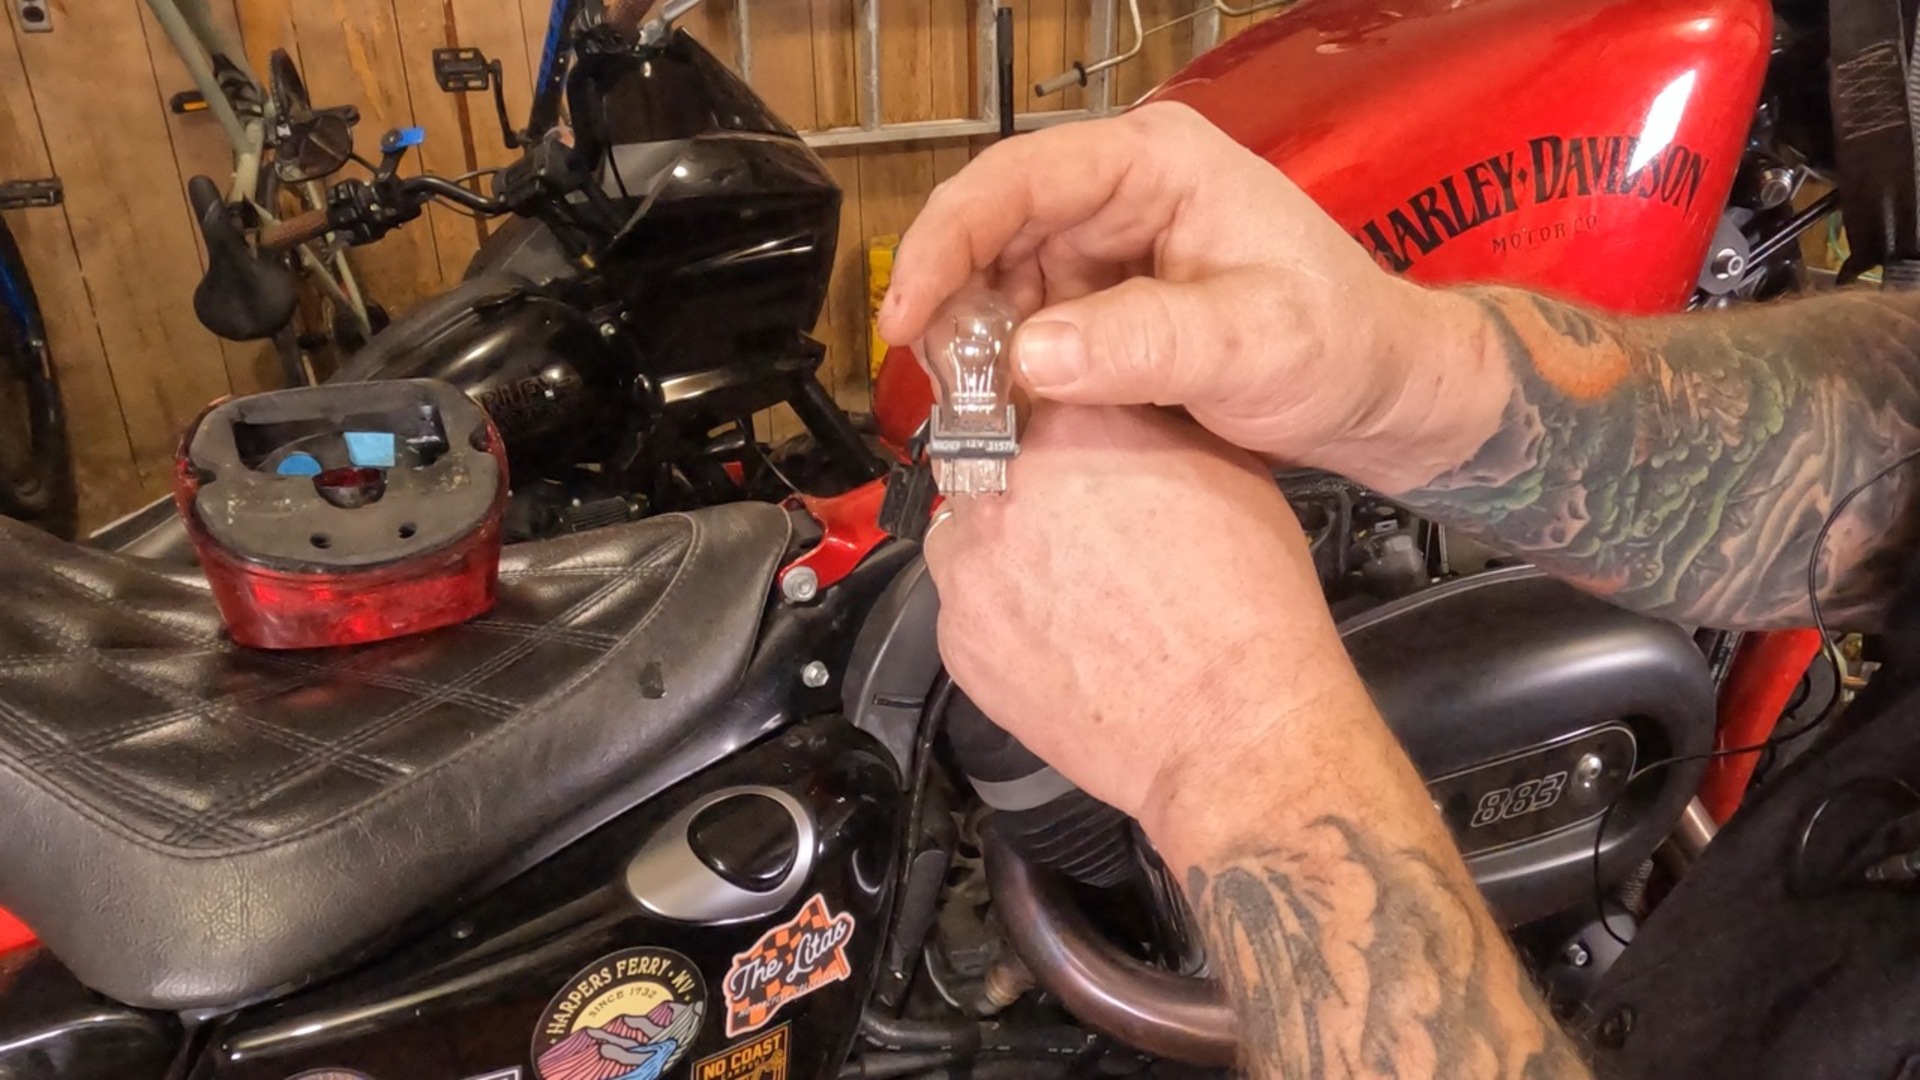
Video Player is loading.
Steve Knoble gives us very helpful information for diagnosing and repairing issues with lighting on your motorcycle. Follow along with Steve as he diagnoses and repairs a failed turn signal on a Harley Davidson Sportster.
Hey, this is Steve Noble with Fix My Hag, and I got a great tech tip for everyone today. This is brought to you by our friends at Dennis Kirk. What we're going to look at today is lighting, and lighting is a key part of being seen. Everybody likes to be seen on their motorcycle. Some people want to be seen so they don't get ran over.
Some people want to be seen because they think they look cool. Either way, good lighting is the key thing that's gonna help you achieve your goal. For the most part, you don't usually have to do a ton to your lighting. However, have you ever seen somebody going down the road and they put their blinker on and just the one side just blinks really fast because one of their bulbs is burned out? Or maybe they turn on the other blinker and the light just illuminates and nothing happens.
Also because one of the bulbs are burned out. Have you ever wondered which lever actually turns on the brake light? So these are things that we're going to dig into today, and I'm going to show you how the whole system works, even give you a few maintenance points to keep your lights bright and working for a long time. So, let's move in for a little bit closer look. All right, so we're over here at the motorcycle.
So, first, let's just take a look at the lighting and see what we got going on. So we'll click our key on on this thing. Now, right off the rip, you can see, we have a light bulb that's out. Definitely out. Um, so that is something we're going to have to investigate.
This has a dual tail light setup on it, uh, where you have your running brake light and turn signal on each side. So first, we'll take a look at the brake lights. There is a separate switch on each brake lever that will illuminate your brake light. So when you check your lights, you want to check those individually. So, rear brake, And it looks like the brake light filament in the bulb is good.
I moved to the front brake. And that brakes light switch is also working properly, but apparently, just our running light is out. So let's try our right turn signal. Which is the same filament as the brake light. There's actually a circuit board inside this that interrupts the brake light circuit.
You don't need to know how it works. You just need to know it does work. And of course our left turn. So we're sitting pretty good there. And of course, I can see up front that we have our left turn, our left running light, and our right running light is working, and we have the turn signals working on both of those.
So from here, let's take a look at replacing that brake light bulb. Turn the key off in order to remove your turn signal lens. If you look very closely, somewhere on here, there's going to be a little notch. In this case, it's right about there. It's about the size of a flathead screwdriver blade.
You should just insert your flathead screwdriver blade right there, twist it a little bit, and the cap will just pop right off. To reinstall them, you just push it back in place just like that. Now, to remove this bulb, make sure it's off and make sure the bulb is cool. You should be able to just take your two fingers, push it in just a wee little bit, and turn it to the left. Then the bulb should come right out of there.
You'll take your new bulb and insert it in the reverse process. But now, remember, there's a pin here, higher, depends on how you hold it. There's a pin that is lower and a pin that is higher. And that ensures that you put the bulb in the correct way. That way, the correct filament illuminates at the proper time.
Now, before you put your bulb in, it is really important to take a look in there and make sure you don't see any white powdery corrosion forming in there. What that is is that's where electrons have jumped across some metal contacts at. There's a little bit of oxygen there, and it begins to oxidize, turns to corrosion. Either way, you want to clean that corrosion off of there. And even if it doesn't have any, To help keep moisture out of there and ensure you have a good contact, you can use dielectric grease, or there's stuff called light bulb grease or spark plug grease.
It's all pretty much the same thing. Importantly, it's a non-conductive grease. And you can take just the tiniest little dab. You don't have to put a ton on there like some people do. Put that onto your light bulb there.
You put it on the socket. This is gonna do a couple of things. This is obviously going to lubricate the light as it goes into the socket. It will keep moisture out because water sits on top of oil. And wherever there is contact, the metal, metal to metal contact will actually push the grease away, so you'll get an electrical contact without oxygen and moisture getting to it.
So insert the bulb. And turn to the right and it should stay in there. You shouldn't be able to pull it back out. If you try to put it in the wrong way, it will go in part ways, but you won't be able to turn it to the right. You can take your lens and pop it back on there.
On some years, they had a small rubber gasket around here to help keep the moisture out. If yours had that, you'll see it when you take this lens off, and you can always make sure you put that back in place before you put the lens back on there. And just pops in place like so. Then from there, we can turn the lights on. We have our running lights.
Rear brake, front brake. Right turn. Hey, we're sitting in pretty good shape now. Now let's move around the front and check the headlight out. Now, we've moved up to the front end of the motorcycle, so we're gonna check out, of course, the front running lights and turn signals, and importantly, the headlight with the high and low beam.
So, we turn our ignition on there. We've got our low beam light, we've got our running lights, we're sitting in good shape there. Got a right turn. Left turn of course low beam. And high beam.
So up here, we're sitting in pretty good shape. If you want to do some maintenance on here, it wouldn't hurt to actually pop these light bulb covers off, take a look in there, see if there's any corrosion forming, even take the light bulb out just to check, maybe add in a little bit more of that dielectric grease, just to be sure. With your headlight, you can remove it if you like. It doesn't hurt to put a little dielectric grease in the plug, but most importantly, once it's there and it's in place, you're generally good to go and you shouldn't really have to do any major maintenance on it. But even if you don't want to get that in depth, give it a good look over.
Make sure, well, it may be covered in dead bugs, make sure there's no condensation forming in every anywhere. Make sure nothing looks damaged, make sure all the screws are tight, make sure the mount's tight, make sure everything still looks in good shape, and then you're ready to go ride. Now, here I have a tail light off a late model bagger. To remove this off of the bike, there's just a small Phillips screw on this side and this side, and at that point, this whole light will come out of there. There's an electrical quick connect plug that you'll want to remove.
But if you have to take the bulb out of it on these ones, you can grab the light socket here in the back, quarter turn it, and pull the bulb right on out of there. From there you can grab these two little plastic tabs on the side, squeeze them and pull up, and your light bulb will come out of there. Now if you need to buy a new light bulb, usually on this plastic framing or on the silver metal base of the light bulb, there's going to be a number. In this case, it says 3157. So if you need light bulbs, you can go online to Dennis Kirk and order yourself a 3157, or you can use their make and model search and ensure that you get the right light bulb for your bike.
When you get that new bulb, it should just slide right back in there. If you have to force it or there's some resistance on it, you may have it backwards. Turn around and try a different direction. Then you can take your light bulb, you're gonna line up all the little key marks on the light bulb housing there. Just line that up and slide it in, then twist it to the right, and you'll feel it snap in place.
Then you can plug this back in and reinstall your tail light onto your motorcycle. Now, if you need to identify your conventional style light bulb, if you hold this up to the light, you might need some readers. You'll see some prints stamped into this. And somewhere on there, there should be a four-digit code that says something like 1157, 1156, something like that. That's gonna be your bulb size and bulb number.
Or if you're in doubt, you can go on Dannis Kirk's website and use their parts finder and enter your make and model, and they'll ensure that you get the right part for your bike. So that's all I have for you today. Hopefully you've gotten some tech info out of this, and you can use this on your bike to make sure all your lights are working, and that will give you more confidence to ride more miles in your motorcycle. And remember, if you need any parts, apparel or accessories for your V-twin, go check out Dennis Kirk.com. That's all I have for you today.
My name is Steve Noble. This is Fix My Hog, and thank you for watching.
Why would you allow a bike with the clutch cable interfering with the beam of light from the headlight to be shown in a how to video. The cable should have been moved prior to production