LED Upgrade
Steve Knoble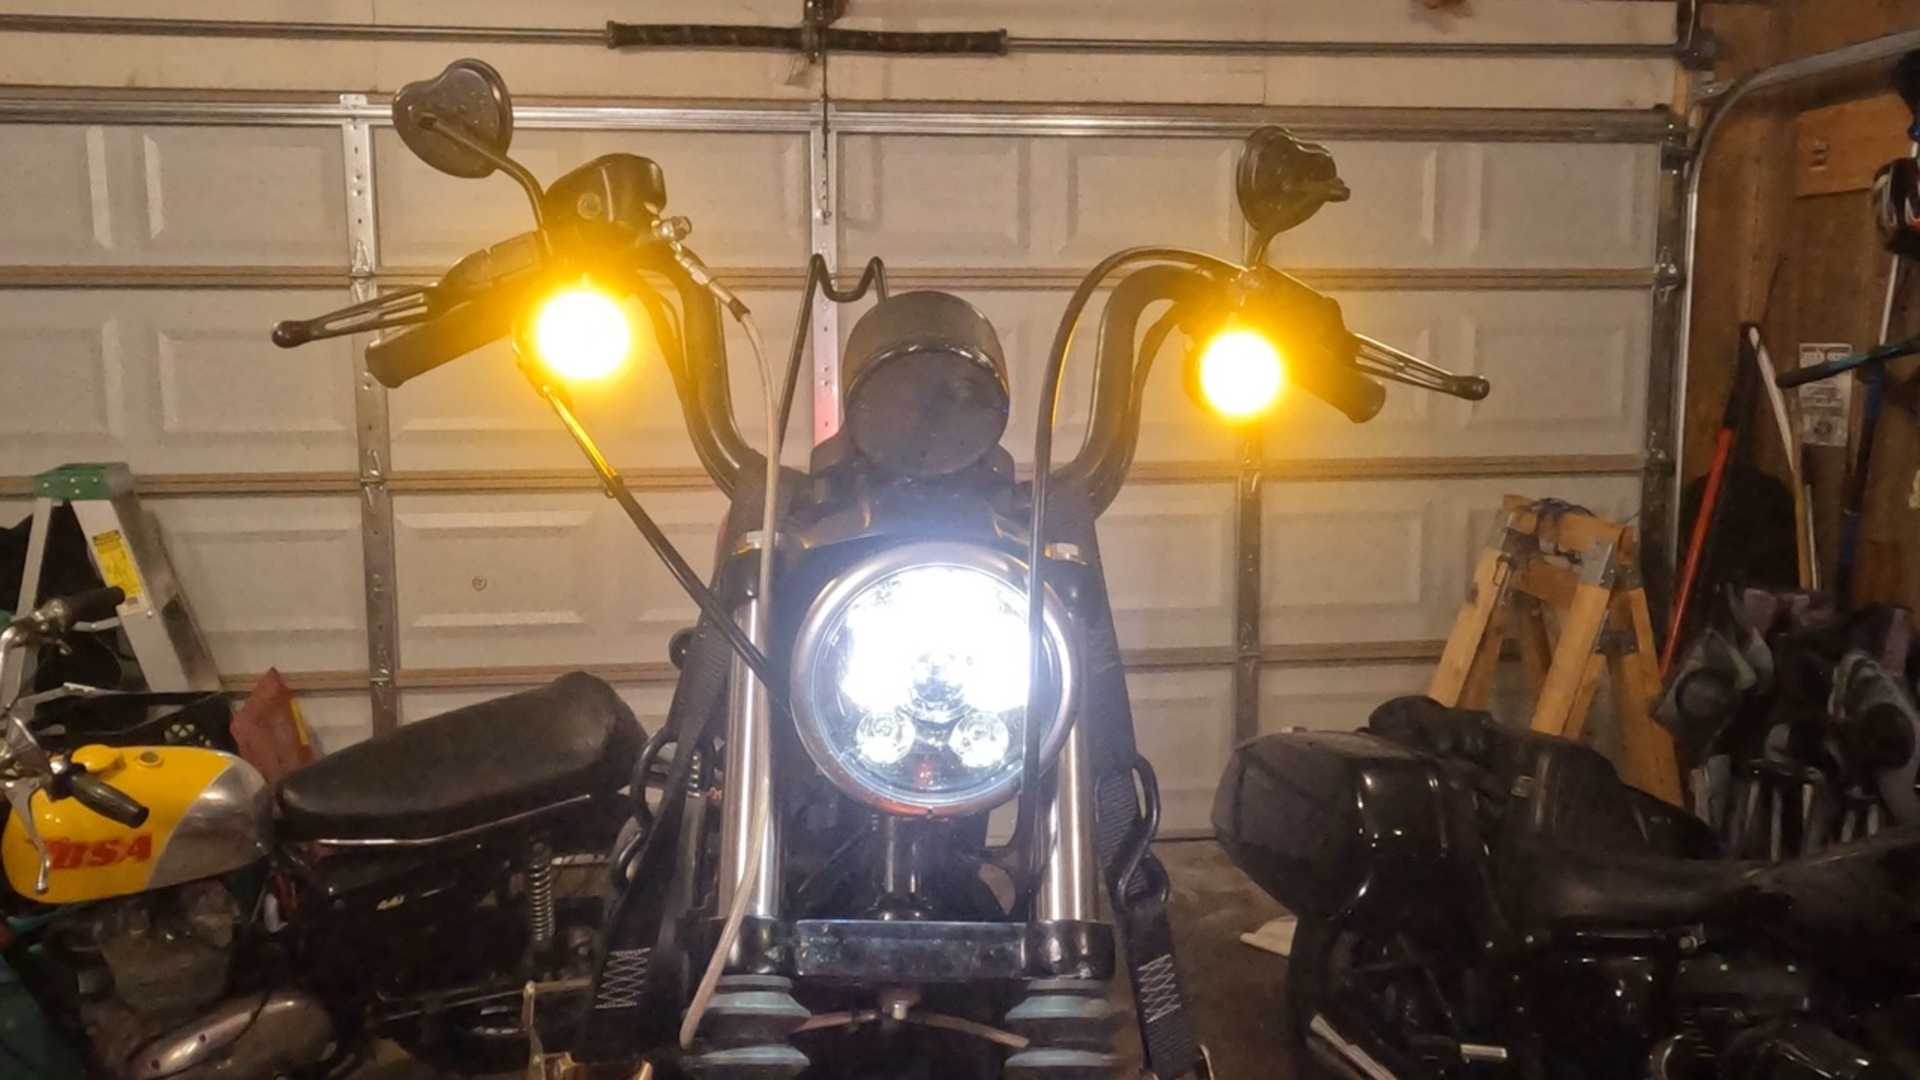
Video Player is loading.
Join Steve Knoble as he installs Custom Dynamics LED turn signal inserts and supporting load equalizer module on his Harley Davidson Sportster. The LED lighting not only looks cooler but also greatly aids in safety through better visibility.
Hey, Steve Noble from Fix My Hog here. Got a tech tip and lighting upgrade brought to you by Dennis Kirk. So what we're gonna do today is we've got some custom dynamics lighting, and we're gonna upgrade the lighting on this sports drive. This is a really simple task that you can do, make a huge improvement in safety, visibility and cool points on your bike with some custom dynamics LED lighting. We've got the front running lights here, the rear running turn and brake here, and of course, the load equalizer that will help balance everything and ensure that the turn signals blink at the right rate without gain a warning lights on your dashboard.
So from here, let's move in for a little bit closer look. Now, first thing you're gonna wanna do is remove your seat, so pull that Phillips screw out that's in the back. Set that in a safe location. Lift your seat right up off of there. Once you get your seat off of here, you're going to want to take your custom dynamics uh lighting eco the turn signal equalizer module, and it should have this extra little pigtail on here that splits it off to an input and an output.
And if you look down through here, these ones here are the lights that are the wires that actually go to your lights. But there's actually a larger harness plug, which is pretty much right underneath those, and it should be one that's about the same size as that plug. And what you can do is you can press that little button right there. Grab the plastic on each connector and pull it apart. It's pretty simple.
Now to help keep the moisture out of this thing, we're gonna take a wee little bit of non-conductive grease or the dielectric grease and smear it down in there. Of course, now we're gonna smear it onto The smaller end or the, the male end of each of the plugs. So, just push these in there until they click. Make sure all your tabs line up first. You hear it click into place.
Then you'll hear this one click into place. You're good to go. Now, on here, there is a high and a low setting, and you're gonna want to have that selected in case you still run some conventional bulbs or if you run fully, full LEDs. And we have it set to the full LED setting. And if you're endowed to that, it's explained in the instructions that come with the custom dynamics load equalizer.
And if you're wondering which one of these works best for your model, I found it by using the parts search on Dennis Kirk's website. I punched in my Make Model bike, and it showed me the exact items that fit this motorcycle. So it took a lot of the confusion, the unknown scenarios out of it. So put the load equalizer down in there first, and then you can lay the plugs down on top of it. Make sure all your wires are not coming in contact with any pinch points.
That's gonna be. Created from the seat. On this bike, you can see some witness marks right where the rubber mounts were from the seat. So that'll be easy to line up. And we can reinstall the seat.
To remove the tail light lens, there's a little notch here. That takes a flathead screwdriver, just push it in there and twist. And your lens pops right out like that. Take your bulb, push in, turn to the left, and you can remove it right on out of there. Now, I'm noting the position.
Uh, when I hold the bulb up in the air, the left pin is higher than the right pin. That's because we have that same setup on the new light. How cool is that? There's our whole LED setup. So it's clear smoke lenses.
Uh, the higher pin was on the left. So you slide in there, then there's a screwdriver slot on the back of this unit. So you can just right-turn and click that into place. Then from there, make sure your new gasket is in place, which it should be from the factory. Push your wires back in there.
And pop it in place just like that. Let's turn on and see what she looks like. There's a running light. And there's our brake light. There you can see the difference in them in running light, and of course, in brake light.
What a huge difference and hazards for comparison. That's an amazing difference those LED lights make. It's such a cool, simple upgrade that you can make to your bike to make it more unique and higher visibility. So that's a win all around. And of course, if custom dynamics makes it to fit your motorcycle, you can find it at Dennis Kirk.com.
Left light. So now you just rotate your lens around until you find that notch. Again, you can put your flathead screwdriver in there and pop it on out. Push in on your bulb and turn to the left. And when you pull it out, we're gonna note that the left, the right tab is higher or left is lower.
We'll go with that. That's easy to remember. And we put a little bit of dielectric grease on this thing. Of course, our left is lower. So we're gonna slide that in there with the left tab on the left or the lower tab on the left.
And turn to the right so it clicks into place. And we can take our new light. Push all the wires in place there. Snap the light right on in there. I take our screwdriver and pop our lens off of there.
Then your light bulb, turn it to the left and take it out. In this case, the, when I hold it up like this, the lower tab is pointing down to the bottom. So we can take our new one. The lower tab pointing down to the bottom. Slide it in there.
There we go. And from there, we're gonna verify your gaskets on there, which it is, and you can ramp it up, push your wires back in place, and pop your lens right back on there. Let's turn it on, take a look. Nice bright running light. Oh, and it switches colors when turning.
Oh, that is cool. So again, we'll just pop our lens right off of there. Take a light bulb out. Take our new setup and pop it right on in there. Wind up the wires a little bit.
Make sure they don't get pinched. And snapped the new light back into place. And again, let's turn the light on to see what it looks like. Or even with the headlights shining at you, that is so much brighter. You're gonna be a lot more visible coming down the road and you're gonna look a lot cooler.
And it looks so much cooler with the different tones on your turn single, very eye-catching. So that's all I have. All the lights are installed, everything looks pretty cool and well lit, and we're ready to go ride. As you can see, this is a really easy upgrade. All you need are the absolute basic of hand tools.
Anybody can do this, even if you have very little to no experience with your motorcycle. And the upside of doing is not only does it look cooler, it's also safer, and you can never go wrong with that. And this tech tip was brought to you by Dennis Kirk, where your parts shipped today. So if you need any parts for your VTwin or any of your power sports in general, remember Denniskirk.com is the place to go. But that's all I have for you today.
My name is Steve Noble. This is Fix My Hog, and thank you for watching.
Is the turn signal equalizer a must installation? I’ve already upgraded my brake light and signals to LED not knowing about the equalizer and don’t seem to have any problems. Am I going to eventually need the equalizer as the bulbs,, wires, age, and/or am I setting myself up for future problems? 2014 FLSTF.