Harley-Davidson Charging System Removal
Bob LaRosa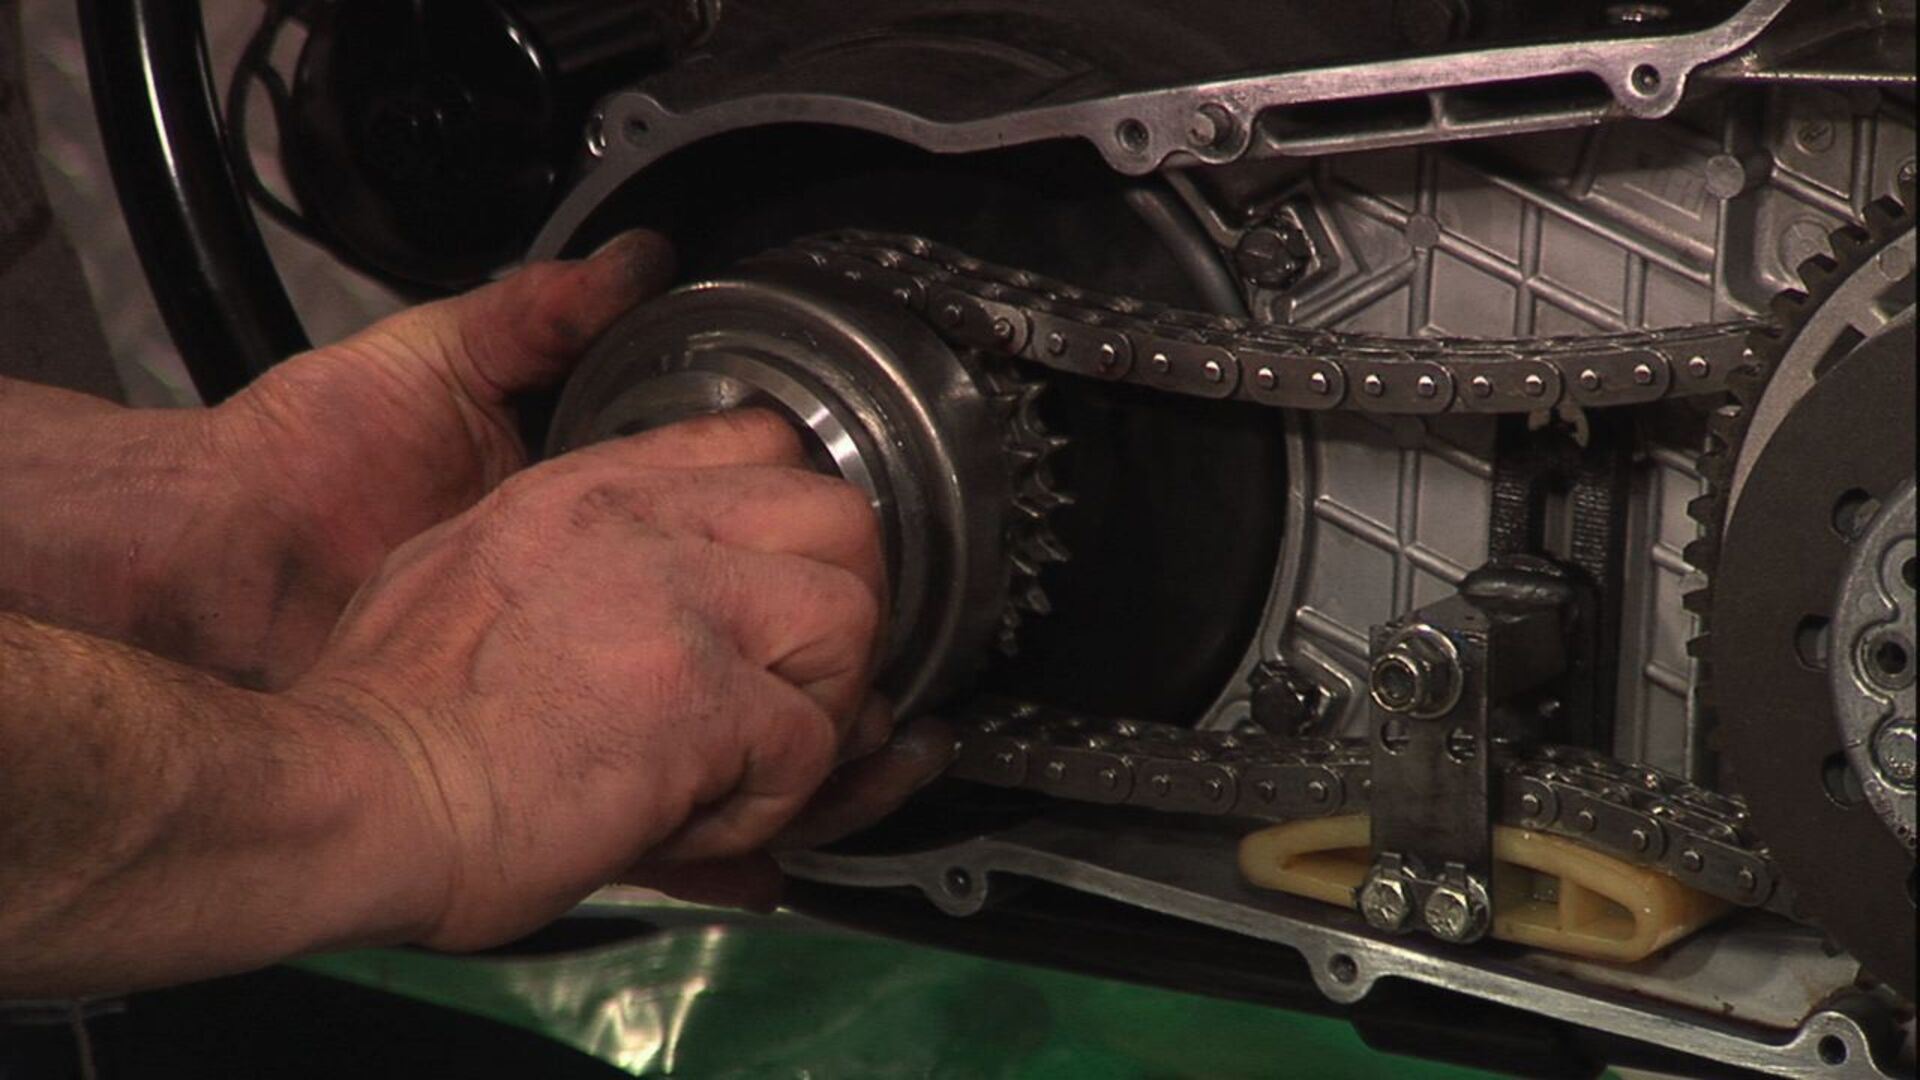
Video Player is loading.
This three-part video series walks us through Harley-Davidson charging system replacement. We will remove the old system and replace the regulator rectifier, stator, and rotor shell. As always, make sure you have everything you need on hand before you start your project including replacement parts, gaskets, fluids, and tools.
Next Step: Harley Stator and Rotor Shell Replacement
Other videos in this series:
Harley Stator and Rotor Shell Replacement
Harley Voltage Regulator Replacement
Electrical Systems
Did you test your system?
How to Diagnose Your Motorcycle Charging System