

How-To Rebuild Master Cylinders DVD
$5.00
You Save 80%DVD: How-To Rebuild Master Cylinders
57 minutes
Chapter Topics:
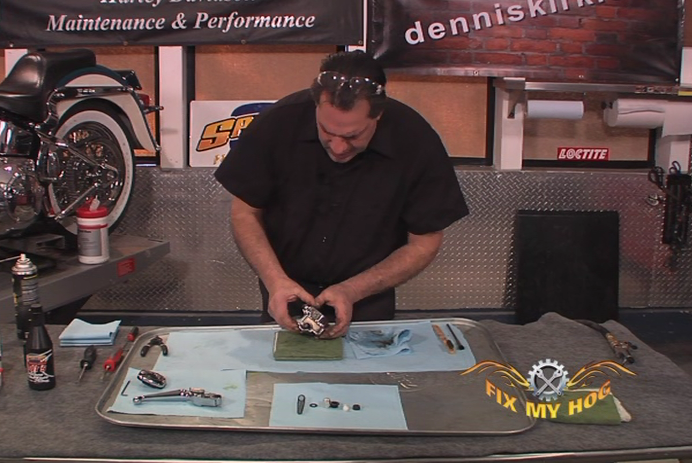
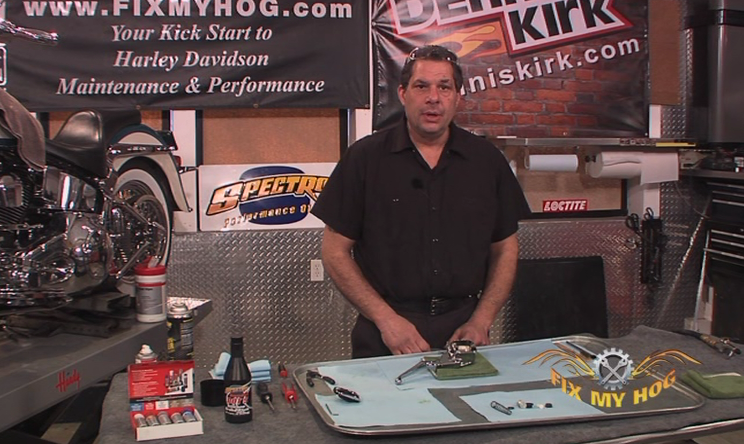
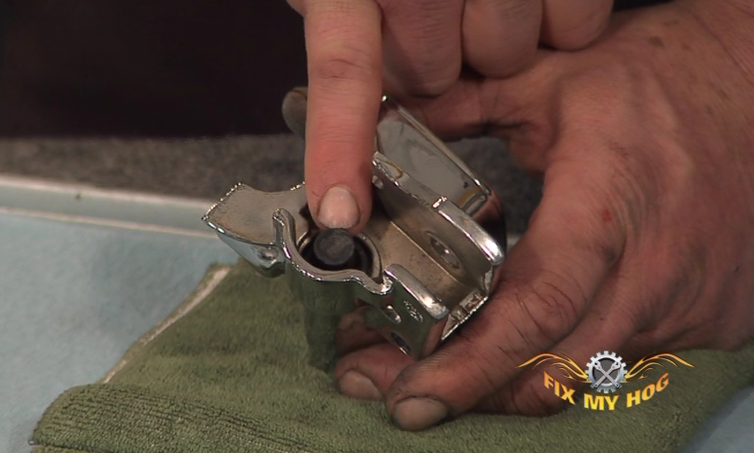
This video shows you how to rebuild a Harley master cylinder. Bob LaRosa works on the 9/16 bore front master cylinder. Get started by removing the cover and any residual fluid or debris. Take everything apart and compare the old to the new parts to make sure you have everything that you need.
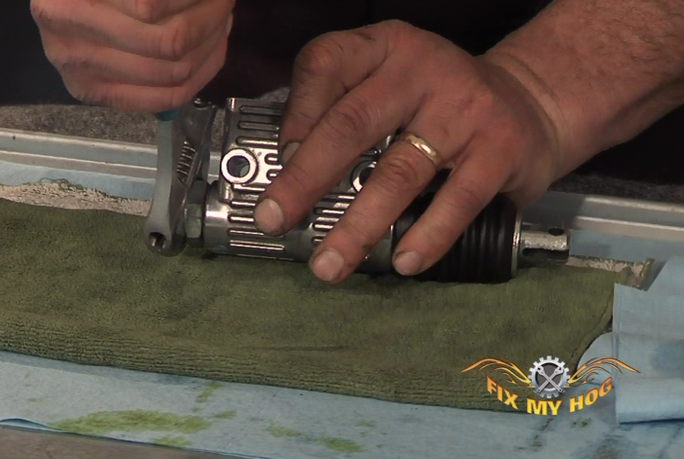
Bob LaRosa shows us the step-by-step process on rebuilding the rear Harley-Davidson® master cylinder. Why would this need to be done? The metal inside the cylinder can start to breakdown and/or the component may start to leak. You may notice that even after bleeding your brakes you still get a spongy lever. This procedure can help maintain safe and reliable braking conditions.
Bob rounds out this install with new brake lines. Make sure you know what brake fluid is in your motorcycle. Mark removes the old fluid as Bob removes the stock brake lines. Save your hardware for re-install. Bob and Mark route the new brake lines and make sure they do not bind and stay in place. New washers and banjo bolts are a must. Thread the banjo bolts into the master cylinder with touch of Loctite threadsealant. They bleed the brakes to finish this custom brake line installation to make sure they have firm brake lever feel.
Bob bleeds for us. Well, he shows us how to bleed motorcycle brakes on this caliper set up. He notes that we should remove old fluid before replacing with new. Check your manual DOT4 and DOT5 do not mix. They go pro with the use of a Brake Bleeder that pushes new fluid into the caliper and line. Check the master cylinder and top off. Check for good lever feel if not repeat the process. Use care not to get fluid on painted pieces.
