Harley-Davidson Radio
We get hundreds of questions about electrical issues on Harley Davidsons. One very common problem with fairing model bikes is radio failure, or the failure of a radio function. Sometimes it will be an easy diagnosis; like determining that a speaker is blown because it is buzzing after obnoxiously cranking your favorite Scandinavian Death Metal CD for a prolonged period of time. In other instances, it may be difficult to determine an accurate diagnosis; like if your volume switch has stopped functioning or you have zero speaker output.
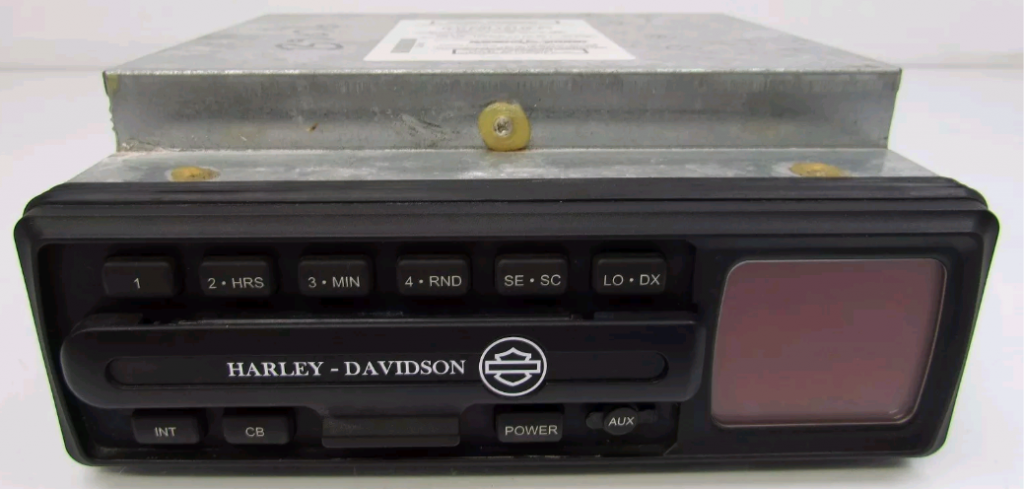
A lot of riders do not realize, but there is actual radio diagnostic testing that any owner can perform. Similar to checking for stored diagnostic trouble codes, the diagnostic test can be accomplished without the use of any specialty or electrical tools. Diagnostic testing can be performed on radios as old as 1998.
On model years 2006 – 2013 (OEM radio #76160-06), start by pressing the eject button to release any CD in the unit. Then, while pressing and holding any two soft keys (buttons 1 through 6), turn your ignition switch ON. Once the HD logo is displayed, the system automatically performs a complete switch check, scans for current DTC’S, and then displays the radio diagnostic display. Release the soft keys when the radio diagnostic display appears.
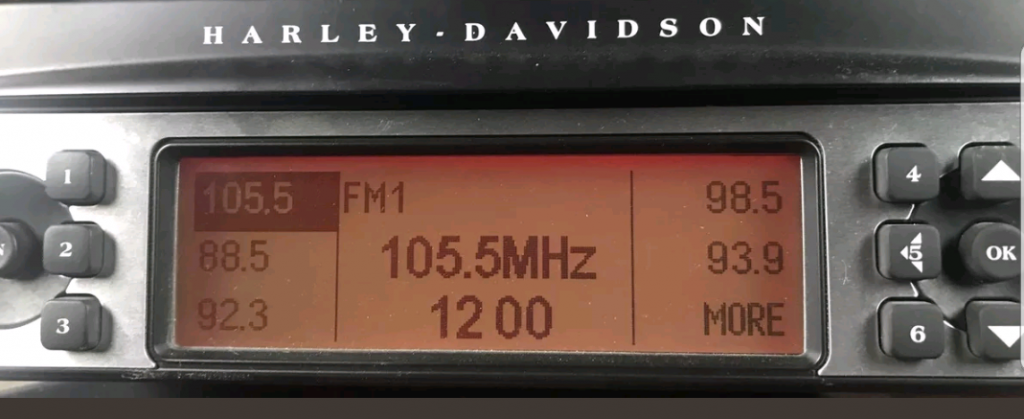
After the initial diagnostic test, if any switches are found to be shorted to B+ or ground, the radio diagnostic display reports the applicable DTC(S) to an abbreviated description.
If there are no switches found to be shorted, you may press selected switches to verify functionality.
If a selected switch is functioning properly, the display shows the switches name and the word OK.
If a selected switch is not functioning correctly, the display will not change at all. All radio switches can be tested this way. Rider, passenger, and even side car switches if applicable.
If you press soft key #1 while in radio diagnostic display, the system will be reset to it default factory settings. This is often helpful when a symptom is present without a DTC. Restoring the factory default settings will, sometimes, resolve the issue.
If your testing indicates a short to ground, remove your outer fairing and inspect your fairing brackets along with radio and any other related wiring harness.
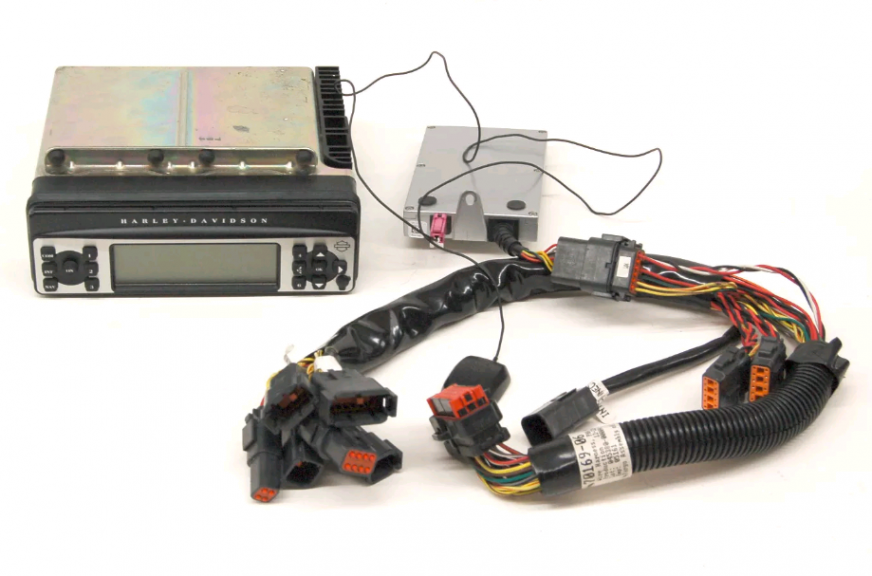
Fairing brackets are known to break, especially on older models (pre-2013). A broken bracket can vibrate and rub through wiring conduit and insulation eventually causing a dead short.
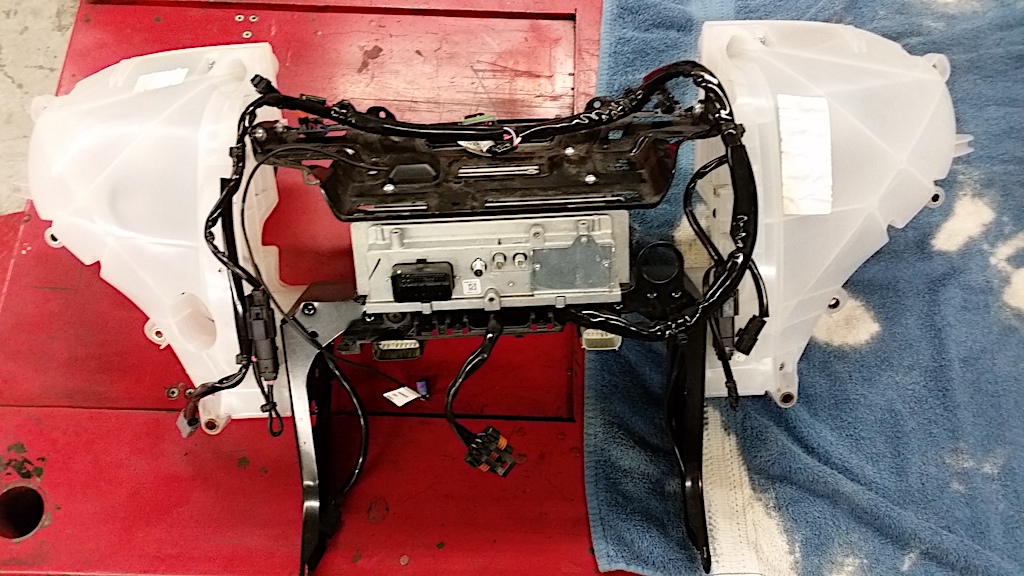
It is also important to inspect your switch harness along your handlebars and exiting your switch housings.
Related Videos:
FMH LIVE: September 2018 – Radio
Aquatic AV’s Harley Stereo Review
Hawg Wired Reviews From Fix My Hog
Harley Inner Fairing Removal: Part 1
Harley Inner Fairing Removal: Part 2
Harley Rushmore Outer Fairing Removal
the auxsilary plug-in port wont work. is this something that can be fixed
I just installed a new radio and now can't get power to the new or the old radio? I am guessing wiring issue but not sure where to look? 2007 Harley Ultra glide
1994 FLHTC, added aftermarket stereo, keeps blowing a 1 amp fuse
I have a 2010 ultra classic. When I am using the aux the radio will switch to FM, AM and weather band in it's own. I went for a drive about an hour and a half away and it did it most of the way there but then stopped and I had no other problems that day. I took the bike about 20 minutes away and had problems both there and back. Today I took it about an hour away and had no issues there or back. I ran a diagnostic and reset. Any ideas on what the problem may be?
Thanks. I have a speaker switch problem. I am a member, which video will help me fix it?
My media/bluetooth/playback stop working. What could the diagnosis be?
How can I reset the codes to clear. Thank you
I have cked everything replaced all for speakers and still no sound except thru headset
What about if the light in radio doesn't function anymore .
I have a 2007 Street Glide. Stereo plays but has no display. Any ideas?