Your Inner Beauty
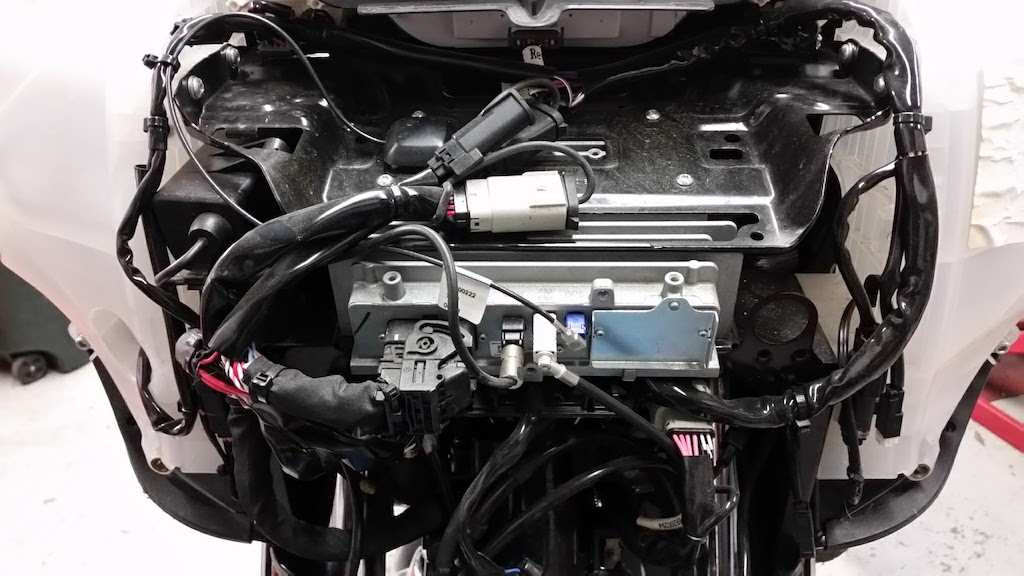
We recently had a 2014 FLHX in the shop that had suffered some cosmetic damage after a minor mishap. The inner fairing had been scraped. The damage may have been repairable but the customer opted to replace the component with an OEM Harley replacement fairing.
Fairing assemblies have changed a lot over the years. What once was a somewhat cumbersome, challenging assembly to address, is now a very lightweight, simplified assembly with far less wiring harness and plugs to handle. We no longer have the same inner fairing and speaker brackets that would repeatedly break after the prolonged vibration Harley Davidsons produce.

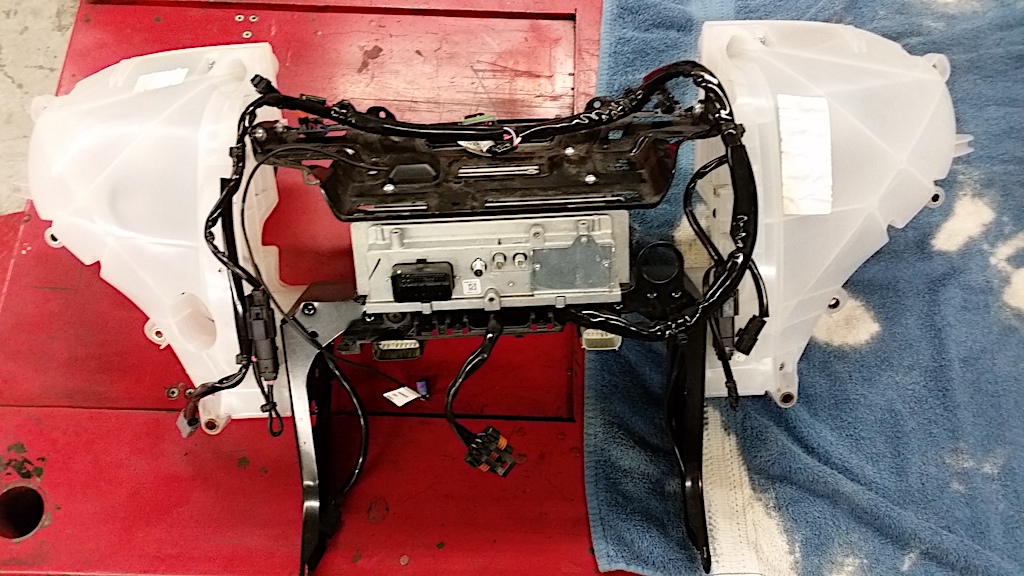
The stereo speakers have solid enclosures that not only deflect sound outward, but also join, strengthen, and support the inner fairing assembly. If the inner fairing is being completely stripped for replacement or repair, the components have been designed to be removed as complete assemblies. Harley has even engineered the assembly to be loosened and tipped in order to complete a number of services and repairs in the area, such as; ignition switch replacement, handlebar replacement, or to access harnesses and lines that are attached to the handlebars.
Tipping the inner fairing is simple.
Remove the auxiliary fog lamps / turn signal brackets, outer fairing, dash panel, the double studs and the chrome skirt.
Disconnection of any electrical components is unnecessary.
Lift the inner fairing assembly slightly and rotate upper portion forward until it is approximately vertical. Be careful, over rotation of the fairing may result in cosmetic damage. Try to rotate the assembly only enough to access the components needing service.
If removing and stripping the inner fairing; you will perform all of the steps already mentioned and proceed to disconnect all of the electrical connectors and anchors as specified in your service manual. If you have a clutch cable (rather than a hydraulic clutch line), it will need to be slackened and removed from its location in the inner fairing. Roll the assembly forward while lifting and remove.

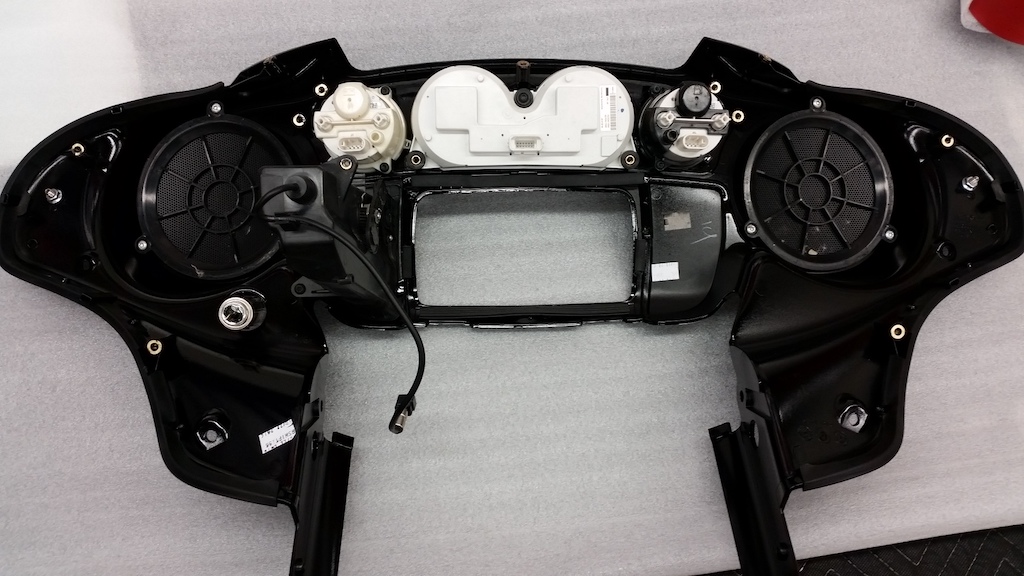
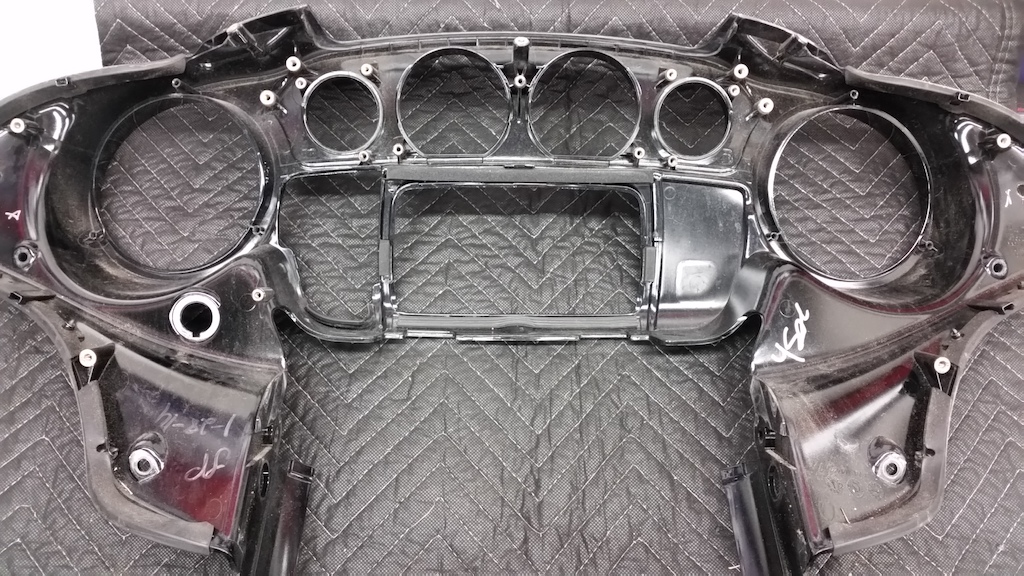
Lay the inner fairing on a bench, face down, on a clean, soft cloth for further disassembly. Then proceed to remove the air deflectors and the fairing vent. Disconnect the harness retainers from the gauges and the instrument cluster. Remove upper support screws, (4) enclosure screws and (2) lower enclosure screws. Remove the gauges and speaker grills. Remove media compartment and power outlet. Remove left and right edge seals and mirrors if equipped.

As always, we strongly suggest using a factory service manual when performing a repair or replacement such as this. The job is not difficult to accomplish but there are a lot of steps and you will be working with expensive, finished components.
Related Videos:
Harley Inner Fairing Removal: Part 1
Harley Inner Fairing Removal: Part 2
Yes, the outer faring has to be removed.
Harley Rushmore Outer Fairing Removal
Electra Glide Front Fairing Removal
Removing the Outer Fairing Evo
Needing to do a handle bar adjustment on a 2021 street glide. Need them pulled back 1 to 2 inch. Bars I have are 12 inch ape hangers and love them.
How to remove and replace the inner faring on a 2013 FLHX
I am wanting to install the Auxiliary power switches to the right side of my inner fairing. I have used the ones on the left side for driving lights and road flashers for extra safety when leading group rides. I have the kit for the Harley cooling fan, the switches and a harness are included. I have the fairing off. the blanks on the right side have a harness attached to it but where does the harness go? How can I tap into it? The dealer is no help. Can you help me?