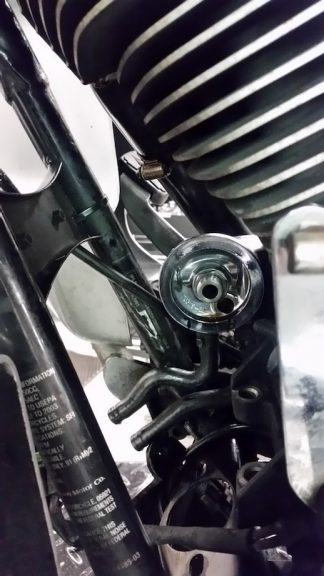
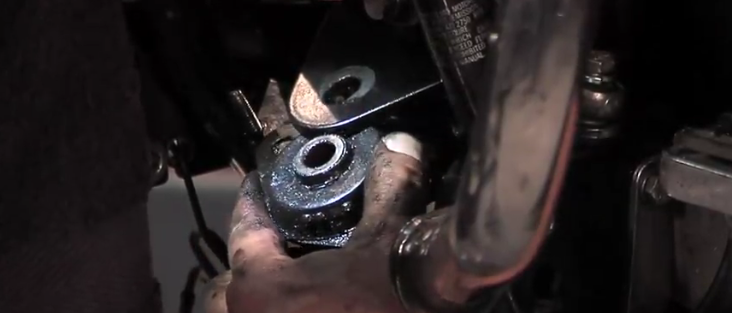
The center of the front motor mount has a round, rubber block that absorbs some of the motor’s vibration. The rubber section will eventually begin to fail. Either due to age, mileage, environment, or a combination of all.

Also, another factor in motor mount failure is oil from the oil filter. During an oil change, oil will often contact the oil filter mount. Even if you are quick or tricky about it; some oil usually finds its way down to the mount.
 We always suggest wiping up and thoroughly blowing out with compressed air. The residual oil will compensate the mount over time.
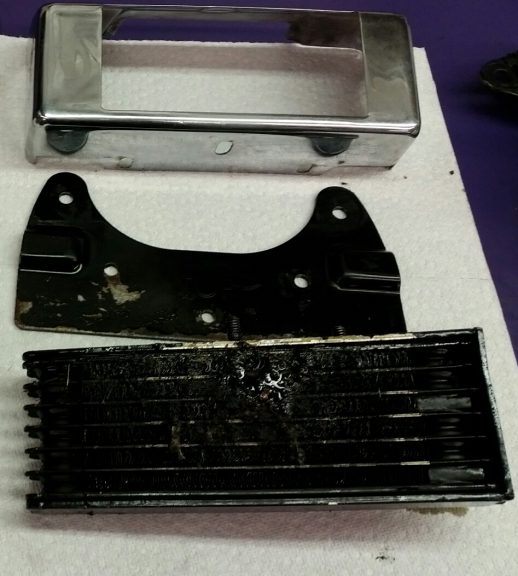
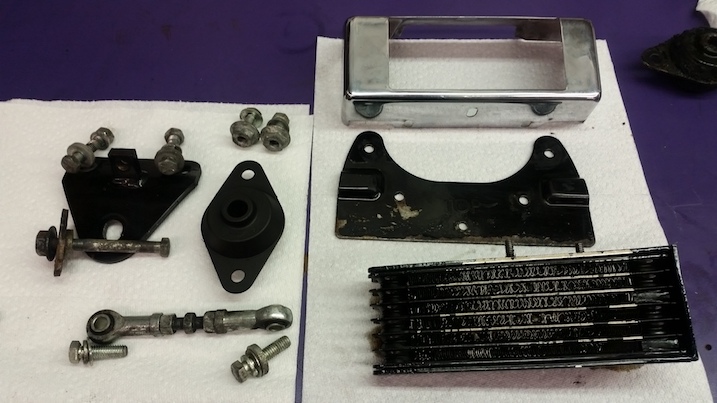
Some front motor mounts are easier to change than others. For instance, the bike we worked on today had the added obstacle of an older, oil cooler. If your ride does have an oil cooler, we suggest taking some extra time to thoroughly clean between all of the cooling fins at this time.
Try planning to change a front motor mount when you are ready for an oil change; as you will be removing the oil filter to start the procedure.
After the oil filter is removed and residual oil wiped away, use a small block of wood and a flat jack to, only slightly, jack up the motor. Mostly just to relieve some pressure and hold the motor close to its natural position.
Use a 7/16″ socket to remove the regulator. Carefully move the regulator up and off of its mounts. Gently lay it aside without putting excessive pressure on the wires. *Note: If you have an oil cooler, you will be addressing it along with the regulator.
Use a 9/16″ socket to remove the stabilizing linkage. Note the location of the spacer on the frame side.
Now you can remove the long bolt that travels through the center of the motor mount. Do this with an 11/16″ socket and a 9/16″ wrench.
Next, remove the front bracket from the motor. Use 9/16″ on the hex bolts and nuts.
Remove the old motor mount from the frame with an 11/16″ socket and a 9/16″ wrench.
Clean everything thoroughly, especially the hardware and prep the hardware with a little red Loctite.
 Go together in reverse but do not final tighten the motor mount mounting hardware or the long center bolt until the jack has been removed and the bike’s natural weight is back on the mount.
We also recommend that you start the motorcycle and let it idle for a minute before the final tightening of this hardware. This allows the motor and mount to find their natural positions and allows the new motor mount to work to its fullest potential. Final tightening, out of position, may actually CAUSE excessive vibration, even with a new mount.
On your next pre-ride inspection, take an extra minute to inspect your front motor mount. Get a good view beneath your mount. Check for cracking or even missing hardware. If your bike is has excessive vibration and the mount has not been changed in some time, it’s a safe bet that you are due.
We felt the wobble topic deserved it’s own Class. You can purchase it and keep it as part of your reference materials for service and maintenance. Fix Your Harley® Wobble Class can be purchased here.
Related Videos:
Motor Mount R&R
Do you know the torque spec on the centre bolt nut on the front rubber motor mount through bolt on a '98 FLHR? Thanks
Those are the same mounts OMC uses on their IO's with the ford Lima engine, I know, I'm running one on mine!!
Good info